Read other parts:
- Part 1 - Basics
- Part 2 - Composition & Graphics
- Part 3 - Creating Panel Switchers
- Part 4 - Avoiding Truncated Panels
- Part 5 - Elements Relative Position and Size
Elements Relative Position and Size
and goes up to 7 columns on 1920px x 1080px. Also the ELPlaylist (right panel) goes from 373px (1200px x 600x) to 493px (1920px x 1080px).
With this tutorial you can also use codes to distribute additional width and height of your current window size to your liking.
Components Required
Columns UI
Panels Stack Splitter
UI Hacks
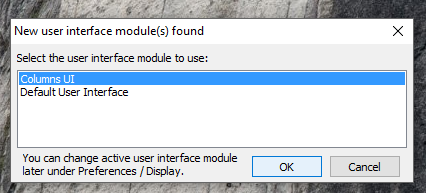
1. First of all, install foobar on portable mode, select Columns UI when you open foobar2000.
Then go to preferences -> Display -> Main Window -> set minimum size to 500px x 500px (It's important to set the minimum size of the window) -> apply
Resize your current window size to 500px x 500px . You can also configure frame style from Main Window, I prefer to hide it (No Border).
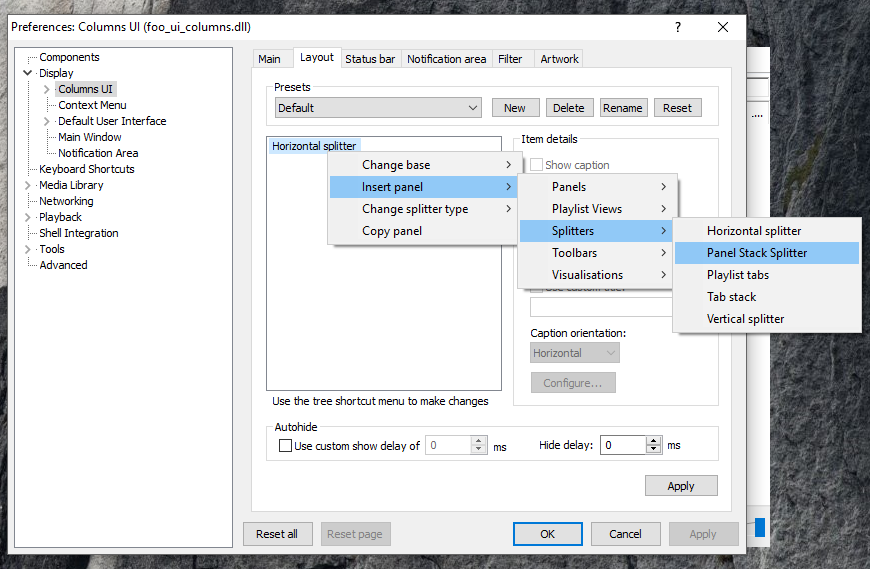
2. Go to Preferences -> Display -> Columns UI-> Layout tab -> remove Vertical Splitter and NG Playlist then add Panel Stack Splitter. Click Apply
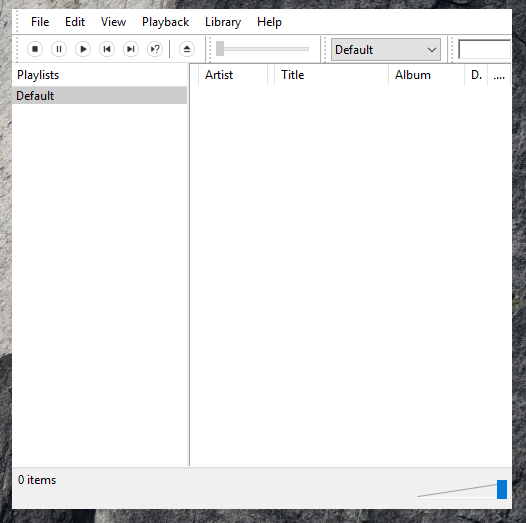
Remove all panels on top (Playback buttons, menu, etc) and bottom (status pane) so there's no panels left.
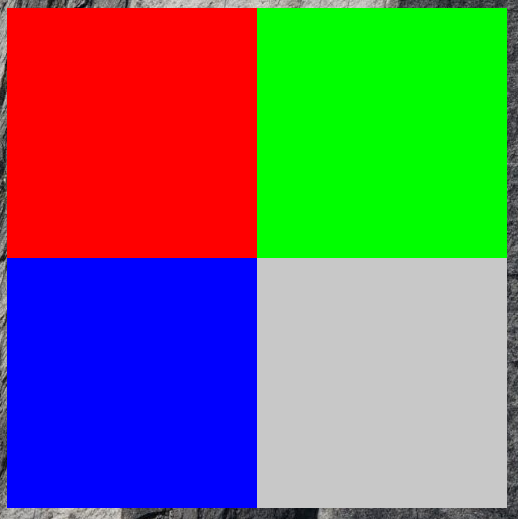
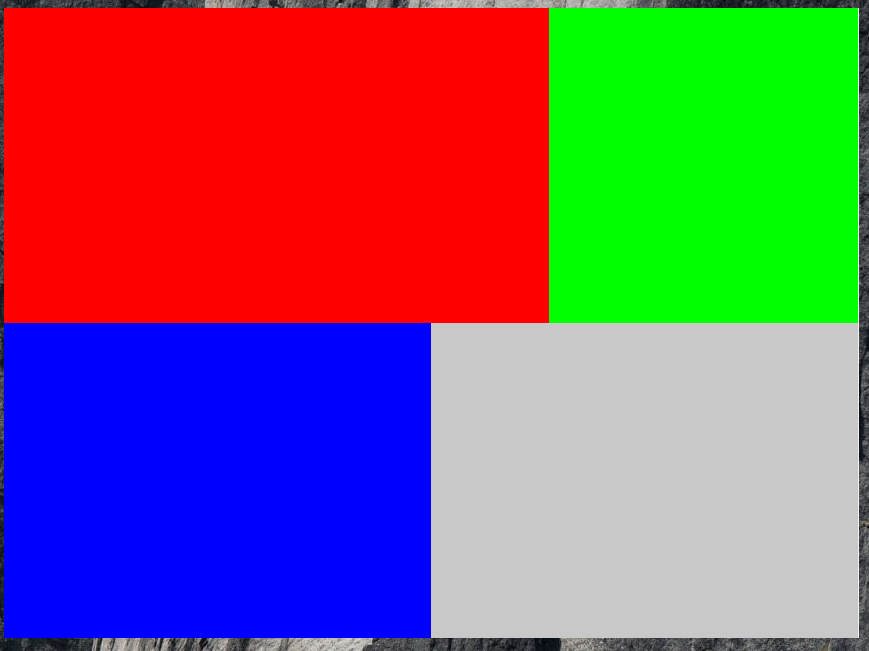
3. Let's start with creating 4 rectangles, Right-click on any area -> Splitter Settings -> Script tab -> copy-paste these codes:
$drawrect(0,0,250,250,255-0-0,)
$drawrect(250,0,250,250,0-255-0,)
$drawrect(0,250,250,250,0-0-255,)
$drawrect(250,250,250,250,200-200-200,)
With these codes, each rectangle has 250x width and 250px height, but if you stretch the window wider on higher, those rectangles didn't get additional width and height,
that's normal because they are on fixed size.
4. Delete codes in step 3 and replace it with these:
$drawrect(0,0,250,250,255-0-0,)
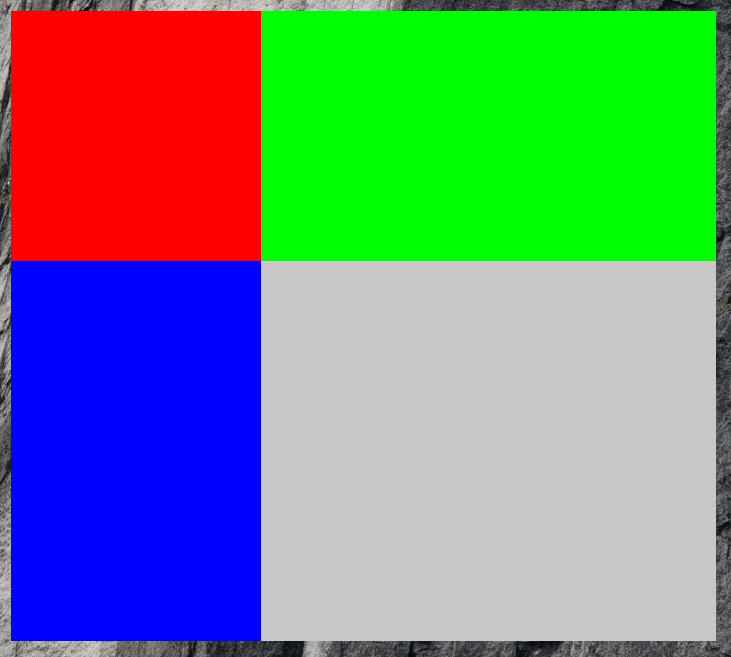
$drawrect(250,0,$sub(%_width%,250),250,0-255-0,)
$drawrect(0,250,250,$sub(%_height%,250),0-0-255,)
$drawrect(250,250,$sub(%_width%,250),$sub(%_height%,250),200-200-200,)
*%_width% and %_height% are variables to measure the width and height of foobar2000 window. Right now (on default size) it has value of 500.
With these codes, the green and grey rectangles gets wider if you widening the window, also the blue and grey rectangles gets more height if you drag the window higher,
but the red rectangle size remains the same.
5. The idea of this tutorial is that, when you drag the window wider and/or higher, you can distribute the additional width and height to your elements (at least 2 elements and e.g. rectangles on this tutorial)
Let's create 2 variables to measure the additional width and height of your window size, then divided them by two :
$puts(RelPos_X,$div($sub(%_width%,500),2))*RelPos stands for relative position
$puts(RelPos_Y,$div($sub(%_height%,500),2))
Delete codes in step 4 and replace it with these:
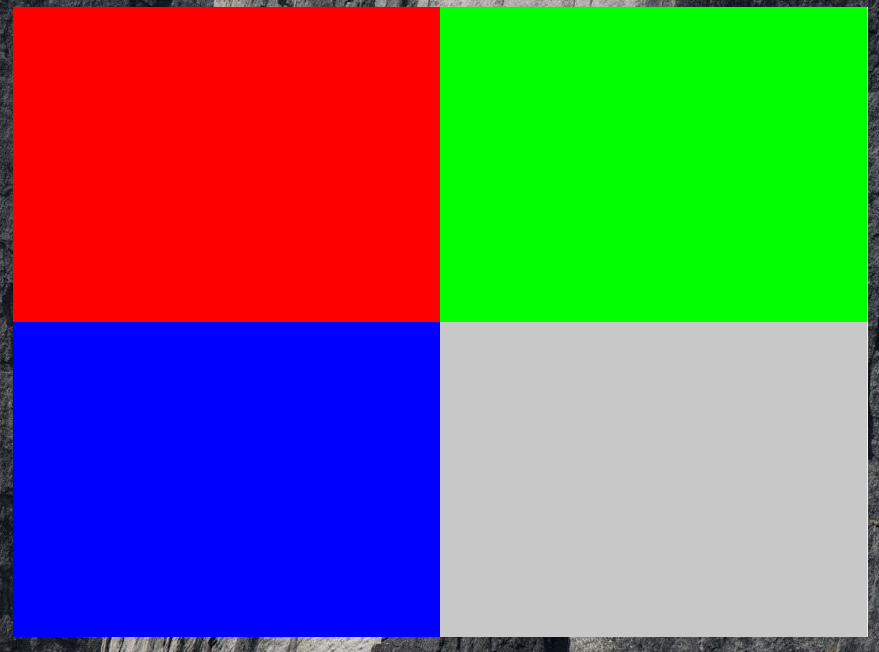
$drawrect(0,0,$add($get(RelPos_X),250),$add($get(RelPos_Y),250),255-0-0,)
$drawrect($add($get(RelPos_X),250),0,$add($get(RelPos_X),250),$add($get(RelPos_Y),250),0-255-0,)
$drawrect(0,$add($get(RelPos_Y),250),$add($get(RelPos_X),250),$add($get(RelPos_Y),250),0-0-255,)
$drawrect($add($get(RelPos_X),250),$add($get(RelPos_Y),250),$add($get(RelPos_X),250),$add($get(RelPos_Y),250),200-200-200,)
With these codes, ALL rectangles gets more width and height if you resize the window to a wider or higher size. RelPos (X & Y) measures additional width and height and distribute it to our rectangles.
On default size (500px x 500px), '$add($get(RelPos_X),250)'and '$add($get(RelPos_Y),250)' equals 250px, but when you resize your window, say 1000px x 1000px, those 2 variables has value of 500px (250 + width/height - 250 then divided by 2)
6. Now that you already distributed addditional width & height by two, you can for example, distribute it by six (1 element gets 5/6 of additional width or height and the other element gets 1/6).
Just add another two RelPos:
$puts(RelPos_X2,$div($sub(%_width%,500),6))
$puts(RelPos_X3,$mul($get(RelPos_X2),5))
Then replace these codes:
$drawrect(0,0,$add($get(RelPos_X),250),$add($get(RelPos_Y),250),255-0-0,)
$drawrect($add($get(RelPos_X),250),0,$add($get(RelPos_X),250),$add($get(RelPos_Y),250),0-255-0,)
To:
$drawrect(0,0,$add($get(RelPos_X3),250),$add($get(RelPos_Y),250),255-0-0,)
$drawrect($add($get(RelPos_X3),250),0,$add($get(RelPos_X2),250),$add($get(RelPos_Y),250),0-255-0,)
*The red rectangle gets 5/6 of additional width, and the green rectangle gets 1/6 of additional width)
You can change rectangles on this tutorial to any elements (i.e. panels) of your skin, the theory is same.
Hope this helps!

0 comments:
Post a Comment